
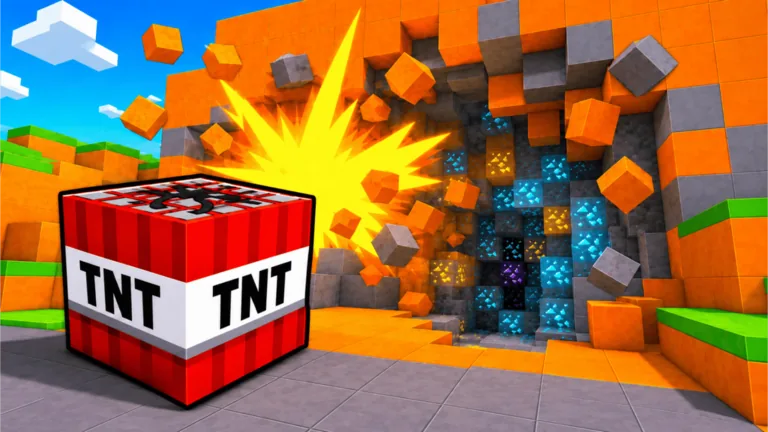
The fastest first-session route
Do a little Damage training before you run into the mine. Once inside, put your TNT beside a group of blocks, light it, and grab whatever breaks loose. Head back to the lobby when your inventory fills or your TNT runs out. Sell the haul, then spend the Cash on whatever held up that trip. Getting this routine down is far more useful than staring at the fanciest TNT in the shop.
Forget about hitting a particular Cash total at first. You want each trip to pay for an improvement that makes the next one quicker. Blocks taking forever? Train Damage or improve the TNT. Running out of crates with room left in your inventory? Buy capacity. Leaving drops all over the crater? Collection range will save more time.
Learn the five-part loop
- Train Damage in the lobby until the first mine’s blocks feel manageable.
- Enter an area you can clear consistently. The priciest mine you can barely use is a poor farming spot.
- Set a crate near several useful blocks, then use its prompt to ignite it.
- Pick up the broken blocks and return to the lobby to sell them.
- Fix the problem you just ran into. That might mean stronger TNT, capacity, collection range, speed, or saving for an area.
Do not separate training and mining in your head. Training provides Damage, TNT applies that power to blocks, and selling converts the result into permanent progress for the current run.
Spend your first Cash with a purpose
| What goes wrong | Best next focus | Why it helps |
|---|---|---|
| A blast leaves most target blocks intact | Damage or stronger TNT | More effective blast power opens the route |
| You stop because no TNT remains | TNT capacity | More placements extend each mine visit |
| Broken drops are scattered beyond reach | Collection range | Less cleanup time means faster cycles |
| The return and shop route feels slow | Speed | Travel time falls across every cycle |
| The current mine is easy but low value | Save for the next area | Deeper or later mines support better rewards |
Check the live shop before buying because prices and available tiers can change. The decision rule remains stable: upgrade the thing that caused your last run to end.
Place TNT where it earns a full blast
Avoid dropping TNT against one isolated block when a nearby wall or floor cluster offers more targets. Scan first, place near the center of the useful group, move far enough to keep the view clear, then ignite. After the explosion, collect before placing again so you do not lose track of valuable drops.
When you unlock the ability to carry or place more TNT, resist stacking everything on a weak surface. Spread placements across intact block clusters. Concentrate several crates only when a tougher layer actually survives single blasts.
Know when to sell
Sell when capacity is nearly full, you have exhausted the TNT you brought, or the current blocks have become too durable for efficient clearing. Staying underground with no useful action does not increase income. A short return, sale, and targeted upgrade gets you back to productive mining faster.
Rare labels are exciting, but do not spend a long time forcing one block that your current Damage cannot break. Mark the spot mentally, improve your power, and come back. Deeper layers generally lead toward rarer blocks, so steady progression beats one stubborn target.
Your first milestone checklist
- Complete several uninterrupted train-blast-collect-sell cycles.
- Buy at least one upgrade that fixes a visible bottleneck.
- Confirm how TNT capacity and collection range affect your route.
- Check the next area’s requirement before spending all your Cash.
- Open the Rebirth menu and read its current reset and reward text before committing.
Once these actions feel automatic, move to the full guide for the larger progression route or the tips and tricks guide for faster cycles.
FAQ
What should a beginner do first in +1 TNT Mining?
Train Damage, enter the first mine, place and ignite TNT near several blocks, collect the drops, and sell them in the lobby.
Why are blocks not breaking?
Your current Damage or TNT strength is below what that layer needs. Train more, buy a stronger TNT tier, or work a shallower section first.
Which upgrade should I buy first?
Buy the upgrade that fixes your last run’s limiting factor. Power helps tough blocks, capacity extends runs, and collection range reduces cleanup.
Should I save for a new area immediately?
Only if your current mine is already easy and profitable. Check the current unlock requirement and keep enough power to use the new area effectively.
Are exact prices always the same?
No. Treat prices, tier lists, and requirements as update-sensitive and verify them in the current in-game shop.