
Fix the part of the run that feels bad
Do not divide Cash evenly across every upgrade. Watch one complete mine-and-sell run, identify the largest loss, and buy the improvement that removes it. Power problems need Damage training or stronger TNT; short trips need capacity; missed debris needs collection range; excessive walking needs speed; an outgrown mine needs the next area unlock.
Prices and upgrade caps can move after an update. The problem you see during a run is still easy to recognize.
Use this purchase table
| What ended the last run? | Best spending direction | Delay it when |
|---|---|---|
| Blocks resisted every blast | Stronger normal TNT; also train Damage | Current TNT already clears the target cleanly |
| ”No TNT left” appeared too early | Carried TNT capacity | The carried charges are too weak to earn well |
| Placement warning interrupted setup | Placed TNT capacity | One charge still struggles to break blocks |
| Valuable debris remained scattered | Collection range | Your sweep already collects nearly everything |
| Travel consumed most of the run | Speed | Power or capacity is a severe gate |
| Current mine became easy and low value | Next area unlock | The next area’s blocks exceed your power |
Make one purchase, run the same route again, and see whether the symptom changed. If it did not, avoid buying more levels blindly; reassess the actual constraint.
When stronger TNT is the best buy
Choose the next normal TNT when fresh blocks at your working depth take too long to break and the live shop shows an affordable step. The purchase should improve several future runs, not only one target.
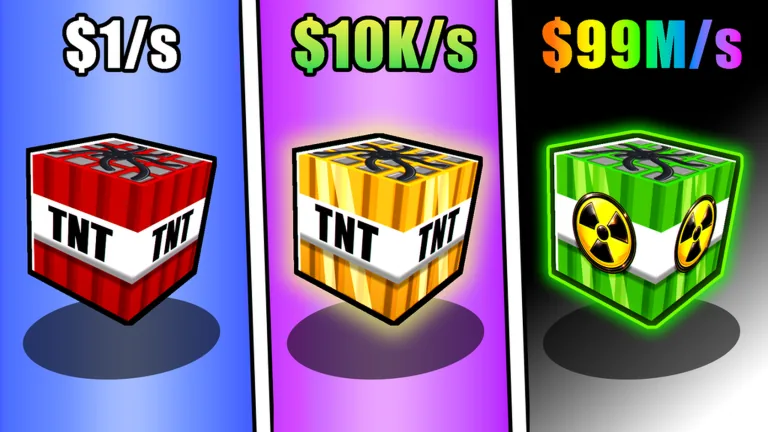
Check the current TNT card before saving. Captured gameplay displayed a long ladder of color and themed TNT types, but exact prices and stats are not permanent facts. Premium TNT products sit outside the normal Cash ladder and should not be treated as required progression.
When capacity beats power
Capacity wins after your blast is already effective.
Carried TNT increases the number of charges available before a lobby refill. Buy it when productive trips stop because the supply empties.
Placed TNT increases the simultaneous active-charge allowance. Buy it when you repeatedly hit the placement cap and a wider pattern would clear more material per ignition.
Neither stat makes a single charge stronger. Spending on capacity while blocks barely break only extends an inefficient run.
When range and speed pay back
Collection range converts a wider portion of the crater into inventory with less precise walking. It becomes valuable when stronger blasts scatter more blocks than your existing pickup route handles.
Speed reduces travel among the blast face, debris, lobby, and shops. Buy it when those movements dominate the timer. Early power upgrades often matter more because movement cannot compensate for a charge that fails to break the wall.
Both upgrades help after TNT has produced debris worth collecting. They cannot fix a wall that your current blast barely scratches.
Save for the next area at the right time
New areas support the official progression loop and deeper mining offers rarer blocks. Save for an unlock when:
- your current mine clears comfortably;
- your sell income is stable;
- your TNT and Damage can handle tougher material;
- the live gate price is within a realistic number of runs.
If the next mine produces tiny craters, return to the previous efficient depth. An unlocked area is access, not proof that it is already your best farm.
Keep an operating balance
Avoid reaching zero Cash without a reason. A small reserve lets you respond when the next useful upgrade or gate becomes available. At the same time, do not hoard indefinitely while a cheap bottleneck fix could increase every sale.
Use this simple rule: if a purchase improves the next several runs and does not block a more important near-term unlock, buy it. If the benefit is only cosmetic or not visible in the current UI, keep saving.
Plan spending around Rebirth
Before a Rebirth, read the current panel for exactly what resets and what remains. Do not assume a historic reset list. Delay any purchase explicitly marked to reset unless it helps reach the requirement much faster. Favor retained upgrades when the menu confirms they survive.
After Rebirth, train, test a familiar mine, and spend only after the new bottleneck becomes visible. Permanent bonuses can change the order you need.
Update note
Checked September 15, 2026. Shop costs, limits, mine gates, and Rebirth terms can change. Confirm all expensive decisions in the current server UI.
FAQ
What should I spend Cash on first?
For most new runs, strengthen TNT after basic training, then fix capacity or collection only when those limits visibly waste value.
Is collection range worth buying?
Yes when blasts leave many fragments outside your normal pickup path. It is lower priority when power cannot break useful blocks.
Should I max one upgrade?
Usually no. Remove the current bottleneck, test again, and let the next run decide where Cash goes.
When should I unlock a new area?
Unlock it when your current mine is easy, your income is stable, and your setup is ready for tougher deeper blocks.
Should I save Cash before a Rebirth?
Read the current reset panel first. Keep or spend Cash according to the live terms instead of assuming what survives.