
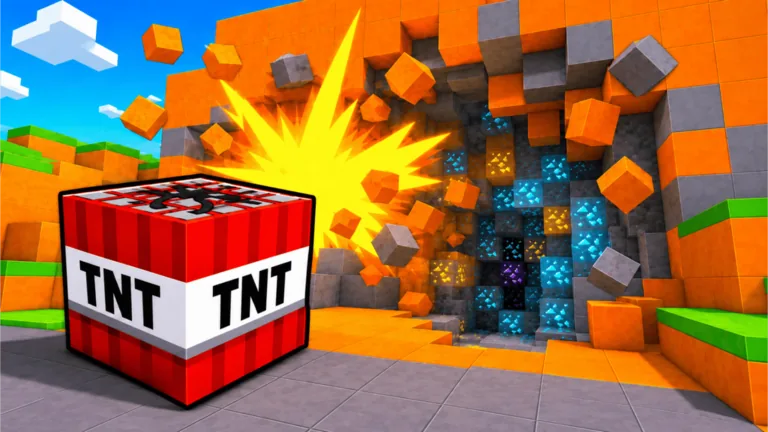
The fast diagnosis
If a blast barely moves the mine wall, do not keep repeating the same placement. In +1 TNT Mining, your result comes from two visible progression tracks: the Damage you build through training and the TNT type you own. Stronger mining comes from improving the weak side, then testing again against blocks your current setup can break efficiently.
When progress feels slow, work through these checks in order:
- Return to the lobby and train Damage.
- Check whether the next normal TNT purchase is affordable.
- Test one blast in your current mine.
- If blocks still resist, work a shallower section until the next improvement.
The public game page does not give a universal damage formula. After an update, one test blast tells you more than an old number from a guide.
Damage and TNT strength are different jobs
Damage training raises the power behind your mining. Your TNT choice adds another progression step by giving you a stronger explosive to use. Treating either one as the entire system creates the common trap: a player buys a new TNT but never trains, or trains for a long time while ignoring an affordable TNT upgrade.
| Progress tool | What it improves | When to prioritize it |
|---|---|---|
| Damage training | Your underlying blast power | A single block takes too long to break |
| Stronger TNT | The explosive used for each blast | The next tier is affordable after a few sell runs |
| Placed TNT capacity | How many charges can wait before ignition | One charge works, but each cycle covers too little ground |
| Carried TNT capacity | How long you can stay in the mine | You return to refill before your inventory is worth selling |
| Collection range | How reliably debris reaches you | Broken blocks remain scattered after a blast |
Capacity does not make an individual charge stronger. It improves throughput by letting you place or carry more charges per cycle. That distinction matters when choosing the next upgrade.
Match power to block durability
Deeper layers contain rarer blocks, but deeper is not automatically faster. If your explosion clears very little rock, the valuable layer is only theoretical income. Step back to a section where one cycle breaks a useful patch, gather a full haul, and use the Cash to cross the next power gate.
You can test a layer without knowing any hidden numbers:
- Place one TNT against a fresh section of the mine face.
- Ignite it and watch how much material breaks.
- Walk the full edge of the blast to collect loose blocks.
- Compare the time spent with a blast one layer higher.
Choose the layer that produces more sellable blocks per minute, not the layer with the most impressive name.
Why placement can look like low damage
A charge placed against already-cleared space wastes part of its coverage. Place TNT against a dense, unbroken face so the explosion reaches material on several sides. When your placed-TNT limit increases, spread charges across adjacent sections instead of stacking every crate on the same point. Overlap can be useful on a stubborn target, but excessive overlap spends several charges to expose the same space.
Collection also changes what a blast feels worth. A large explosion followed by an incomplete sweep can earn less than a smaller, fully collected blast. Walk through the debris before leaving, especially around the outer edge of the crater.
A repeatable power-check loop
Run this short loop whenever you buy a TNT, train significantly, Rebirth, or enter a new area:
- Train until the next increase is easy to notice on the counter.
- Use one controlled blast on a fresh wall.
- Collect everything within reach.
- Repeat once rather than judging a single awkward placement.
- Sell the haul and decide whether power, capacity, or collection is now the bottleneck.
Ask which change will shorten a profitable blast cycle. That answer matters more than chasing the biggest Damage counter. Read the TNT upgrade guide when the next purchase is unclear. If your power feels fine but each run drags, move to the blast-mining guide.
Update note
Checked September 15, 2026. TNT values and mine requirements can change. Confirm the current stat card, shop price, and block requirement in the live game before spending a large Cash balance.
FAQ
Does training Damage replace buying stronger TNT?
No. Training and TNT purchases are separate progression tools, and efficient runs keep both moving instead of relying on only one.
Does carrying more TNT increase blast damage?
No. Carry capacity extends a mine trip; it does not make a single charge stronger.
Why does a stronger TNT still feel weak?
You could be in a layer beyond your efficient power range, or placing charges against empty space. Test on a dense wall one layer higher and compare the result.
Should I always mine at the deepest unlocked point?
Only when your blasts clear it at a useful pace. A shallower layer can produce more Cash per minute while you prepare the next power upgrade.
Where can I verify exact TNT damage?
Open the current TNT shop or stat display in game, then run a controlled blast because update-sensitive values are not guaranteed to remain fixed.