What to do when you join
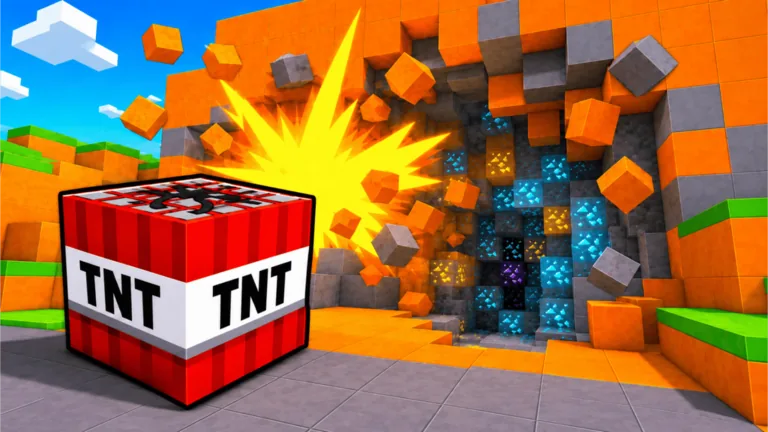
Start at the training spot and build some Damage. Walk into the mine, set TNT beside a group of blocks, then use the prompt on the crate to light it. Scoop up the blocks, return to the lobby, and sell. Spend the Cash on something that will noticeably improve the next trip.
The order matters more than it first seems. Too little Damage makes every wall a slog. Hanging around after the TNT is gone gets you nowhere, and a random shop purchase can leave the next run feeling exactly like the last one.
Your first run, step by step
- Train in the lobby, but stop once the first mine is worth testing.
- Look for several connected blocks instead of one lonely target.
- Place TNT with the prompt shown on your device.
- Aim back at the crate and ignite it.
- Walk through the crater and collect the broken blocks.
- Keep going until TNT supply, inventory space, or tougher blocks stop paying off.
- Return to the lobby and sell the lot.
- Buy one improvement that fixes the last run’s problem.
Choose the right first upgrade
| Your last run ended because… | Upgrade direction |
|---|---|
| Blocks survived too many blasts | Train Damage or buy stronger TNT |
| You had no TNT left | Increase TNT capacity |
| Loot remained outside easy reach | Increase collection range |
| Walking dominated the session | Improve speed when affordable |
| The mine became easy and low value | Save toward the next area |
The shop can change, so use the current stat cards and prices. You do not need a universal purchase order; you need a clear diagnosis of the run you just completed.
Place TNT more effectively
Pause before every placement. A central spot beside multiple intact blocks gives the blast more opportunities than an edge placement. If you can place more than one TNT, distribute them across useful clusters unless one durable section needs concentrated power.
Collect after each blast while you are learning. This makes it obvious which blocks broke and prevents you from leaving valuable drops behind. Later, a larger collection range can make the cycle smoother.
Move to the next mine at the right time
New mines provide the route toward deeper and rarer blocks, but an unlock is only useful when you can work there. Read the current requirement before spending. If the entry blocks barely move, return to the previous mine and build Damage or TNT strength. Fast clears in an older mine can fund progress better than slow clears in a new one.
Your simple readiness test is to compare a short run in both areas. Choose the one that produces more sellable blocks for the time and TNT used.
Mistakes that slow a first session
- Training forever without testing the mine.
- Igniting TNT against one weak block when a full cluster is nearby.
- Forgetting to collect before returning.
- Saving every coin for a flashy tier while capacity repeatedly ends runs.
- Paying for an area that current Damage cannot clear.
- Treating an old online price or control list as current without checking the game.
Once your first loop is stable, the beginner guide explains upgrade choices in more detail, while the early-game progression route turns those choices into milestones.
FAQ
How do I gain Damage?
Use the current training interaction in the lobby. The exact prompt depends on your device, so follow the on-screen input label.
How do I explode TNT?
Place a TNT crate in the mine, then use the interaction prompt on the placed crate to ignite it.
Where do I get Cash?
Collect blocks broken by your blasts, return to the lobby, and use the sell interaction.
Why did my TNT stop working efficiently?
The current blocks are probably beyond your effective Damage or TNT strength. Train, upgrade, or return to an easier layer.
Can I play on phone or console?
The official game description lists PC, mobile, and console. Use the live Roblox page and current prompts to confirm availability and bindings.