
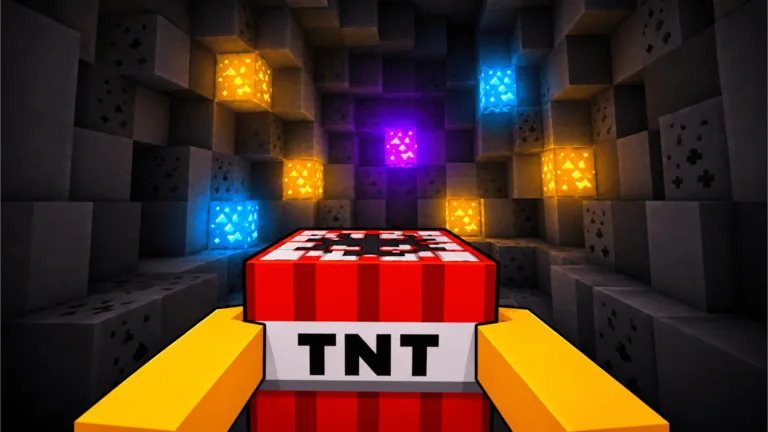
Use the place, ignite, sweep loop
Efficient blast mining is not rapid TNT spam. Place charges against dense material, ignite within your active-charge limit, sweep every useful fragment, and reposition onto a fresh face. That four-step loop turns each carried TNT into more collected blocks and a stronger sell run.
Power decides what you can break. Placement decides where that power lands. Collection turns the mess on the floor into something you can sell.
Pick the right blast face
Before placing, pause for one second and scan the wall. The best target has the most intact material around the charge and a clear route for collecting debris afterward.
| Mine shape | Placement rule | Common waste |
|---|---|---|
| Broad flat wall | Spread charges across the face | Stacking them all in the center |
| Narrow descending tunnel | Stagger charges toward the dense lower edge | Blasting the empty path behind you |
| Valuable visible block | Include it near the center of coverage | Chasing it with weak power for too long |
| Irregular crater | Move to the next solid edge | Filling an existing cavity with overlap |
When a block survives repeatedly, do not assume more TNT is always the answer. It can indicate that your Damage or TNT tier is below the layer’s practical requirement.
Space multiple charges with intent
Once placed capacity allows more than one active charge, use one of two patterns:
A wide pattern puts charges across neighboring wall sections. Use it when ordinary blocks break comfortably and you want more debris per ignition.
A focused pattern overlaps charges around a resistant or valuable target. It works when your current power is already close. If several charges barely make a dent, walk away, improve your power, and come back later.
The exact blast radius is not publicly documented, so learn spacing visually. After ignition, look at the crater edges. Large untouched bands mean the charges were too far apart; a single deep cavity surrounded by intact wall means they overlapped too much.
Build a clean collection route
Plan where you will walk before the blast. Start near the center, circle the outer edge, then finish at the next placement point or exit route. Collection range works like a pickup aid, but a larger range still benefits from a deliberate sweep.
Use this checklist:
- Clear the previous debris before placing again.
- Scan both floor and wall edges for rare-looking fragments.
- Avoid leaving the mine with charges unused unless the haul is already worth selling.
- Avoid staying with an empty supply just to collect a few low-value leftovers.
- Return, sell, refill, and start the next run without idle wandering.
Choose depth by earnings speed
Deeper blocks are rarer, but a depth becomes efficient only when your setup can break and collect them at a reasonable pace. Compare one timed cycle in the deepest section with one cycle slightly higher. Count useful fragments and total time, then keep the route that fills a sellable haul faster.
Move deeper after a Damage or TNT upgrade makes the current section easy. Step higher when each crater is tiny, a valuable block survives several cycles, or the trip produces fewer collected blocks than a faster shallow route.
Match upgrades to the blast loop
| Lost time | Upgrade direction |
|---|---|
| Waiting on resistant blocks | Damage training or stronger TNT |
| Igniting too frequently because the active cap is low | Placed TNT capacity |
| Returning before the route develops | Carried TNT capacity |
| Walking over every individual fragment | Collection range |
| Long travel between face, debris, and exit | Speed |
Do not spread Cash evenly. Remove the largest loss, run the route again, and let the next run expose the next bottleneck.
A reliable three-cycle test
One awkward explosion can fool you. Give a route three cycles before judging it:
- Use the same number of charges on similarly dense faces.
- Sweep each crater with the same collection pattern.
- Note whether the final cycle ends from empty TNT, a valuable full haul, or weak progress.
An empty supply with poor loot points to power or placement. A field of uncollected loot points to range and cleanup. A valuable haul before the supply ends means the route is working; sell and repeat.
Update note
Checked September 15, 2026. Exact radius, durability, placement limits, and capacity costs can change, so confirm live prompts and upgrade cards in your current server.
FAQ
Should I stack TNT in one place?
Use limited overlap only for a target your power can almost break. Spread charges for routine mining so more of each blast reaches intact blocks.
Is the deepest mine always the best farm?
No. Choose the deepest section you can clear efficiently; slow craters can lose to a shallower, faster sell loop.
Why do I keep getting a placement warning?
You reached the active placed-TNT cap. Ignite the current charges or increase placed capacity.
What should I collect after a blast?
Sweep the full crater, prioritizing rare-looking blocks and the outer edge where collection range can miss debris.
Which upgrade improves blast mining most?
Choose from the visible bottleneck: power for resistant blocks, capacity for interrupted cycles, range for missed drops, or speed for excessive travel.