
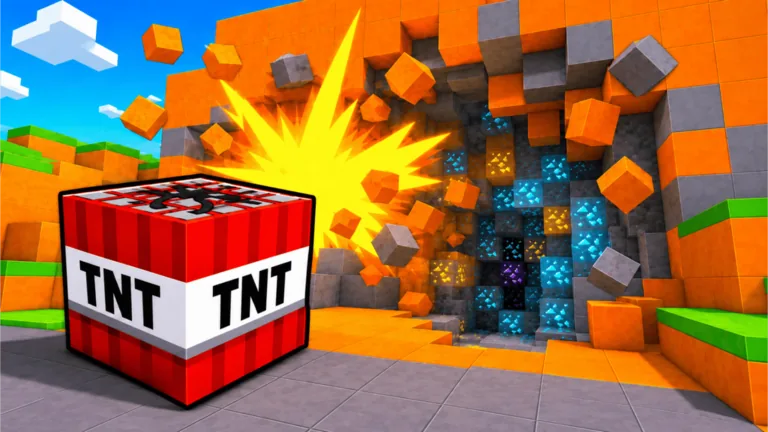
Place, ignite, and collect
Enter a mine, equip your available TNT, place it against an unbroken block face, switch to the ignition tool or follow the on-screen ignite prompt, and trigger the charge. After the explosion, walk through the debris so the broken blocks enter your inventory. Return to the lobby when your TNT supply is empty or the haul is ready to sell.
That’s the whole action loop. Buttons differ across PC, mobile, and console, so read the prompt on your screen instead of memorizing somebody else’s binding.
Your first blast step by step
- Train Damage in the lobby before entering the mine.
- Travel or teleport to an unlocked mining area.
- Face a dense, unbroken section of the wall.
- Equip TNT and place one charge against that section.
- Use the displayed ignition interaction.
- Wait for the explosion, then sweep through every visible fragment.
- Repeat until your carried TNT or useful inventory space is exhausted.
- Return to the lobby, sell the blocks, and reinvest the Cash.
Start with one charge so you can see how placement changes the crater. Multi-charge patterns become useful after you understand the blast coverage.
Understand the two TNT limits
Players often confuse placed capacity with carried capacity.
| Limit | What happens when reached | What to do now | Long-term fix |
|---|---|---|---|
| Placed TNT | The game refuses another active charge | Ignite what is already placed | Upgrade placed TNT capacity |
| Carried TNT | You have no fresh charge to place | Return to the lobby for a refill | Upgrade carried TNT capacity |
“Too many placed TNT” means you still have TNT, but the active charges must be cleared first. “No TNT left” means the carried supply is empty. They point to different upgrades.
Place TNT where the blast has work to do
The simplest good target is the center of a fresh mine face. Avoid placing next to a large empty cavity because part of the explosion reaches air instead of blocks. With multiple charges, spread them across neighboring sections. Small overlap can help on resistant material, but stacking every crate on one spot sacrifices coverage.
Use the visible block face as your guide:
- On a wide intact wall, space charges horizontally to open a broad collection zone.
- On a narrow downward route, stagger placements toward the next dense layer.
- For one valuable block, place close enough to hit it without wasting every charge on the same point.
- When only scattered leftovers remain, collect them and move to a fresh face.
Collection is part of the explosion
Broken blocks do not become Cash until they are collected and sold. After ignition, walk the center and edge of the crater. Collection range pulls nearby fragments toward you, but it is not a reason to ignore the outer edge of a large blast.
A good rhythm is place, ignite, sweep, then reposition. Clear the last blast’s debris before setting the next group. Once the routine settles in, the current bottleneck becomes obvious: power, placement capacity, carried supply, or collection range.
Troubleshoot a failed first run
| Problem | Check |
|---|---|
| TNT will not place | Move closer to a valid mine surface and follow the current placement prompt |
| Another TNT will not place | Ignite existing charges; you have probably reached placed capacity |
| Ignition feels unclear | Look for the equipped ignition tool or on-screen interaction for your device |
| Explosion breaks very little | Train Damage, use a stronger owned TNT, or move to a shallower layer |
| Blocks do not enter inventory | Walk through the debris and check collection range |
| Supply stays empty | Return to the lobby, which refills the run’s TNT supply in captured gameplay |
What to upgrade after learning the controls
Choose the next purchase from the first interruption you encounter. Weak blasts point to Damage or TNT strength. Frequent placement warnings point to placed capacity. Short trips point to carried capacity. Missed debris points to collection range. Slow travel points to speed.
This makes the TNT loop self-correcting: each run tells you which improvement would remove the most wasted time.
Update note
Checked September 15, 2026. UI prompts and exact device bindings can change. Use the controls shown by the live client, especially on mobile and console.
FAQ
How do I ignite TNT in +1 TNT Mining?
Place a charge, then use the ignition tool or the on-screen ignite interaction displayed for your current device.
Why can I place only one TNT?
Your placed-TNT capacity controls simultaneous charges. Ignite the current charge or purchase a capacity upgrade when available.
How do I get TNT back after running out?
Return to the lobby for a refill, then consider carried-TNT upgrades if trips end too quickly.
Should I stack several TNT charges?
Usually spread them across dense blocks. Stack only when a resistant target needs overlap and the lost coverage is worth it.
Why did my explosion earn no Cash?
Explosions create collectible blocks. Walk through the debris, return to the lobby, and use the sell interaction to convert the haul into Cash.